Turn on suggestions
Auto-suggest helps you quickly narrow down your search results by suggesting possible matches as you type.
Showing results for
Voyager 1055 Wireless Adapter - Setup Guide
Voyager 1055 Wireless Adapter - Setup Guide
Topic Options
- Subscribe to RSS Feed
- Mark as New
- Mark as Read
- Bookmark
- Subscribe
- Printer Friendly Page
- Report to Moderator
- Plusnet Community
- :
- Library
- :
- Voyager 1055 Wireless Adapter - Setup Guide
Voyager 1055 Wireless Adapter - Setup Guide
18-05-2009
10:21 PM
 Important - If you are installing this wireless adapter as part of an existing wireless network with a base unit (e.g. BT Voyager 2100), you should install and switch on the base unit before proceeding.
Do not plug in your BT Voyager Wireless Adapter until instructed to do so in this guide.
Software Installation
Before installing your USB adapter, you should install the driver software.
- Insert the BT Voyager Wireless CD into your computer's CD-ROM drive. The CD will autoplay. If the screen does not appear, click My Computer on your desktop or in the Windows Start menu, then click the CD-ROM icon. In the list of files, click setup.
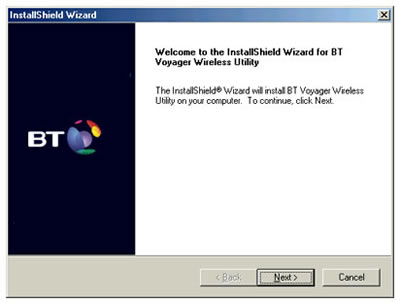
- Click Install BT Voyager Wireless Adapter. The installation screen will appear (Figure 1). Click Next> on the installation screen to install the software.
- You are shown the Software Licence Agreement Read it and click Yes to accept it. Clicking No will cancel installation.
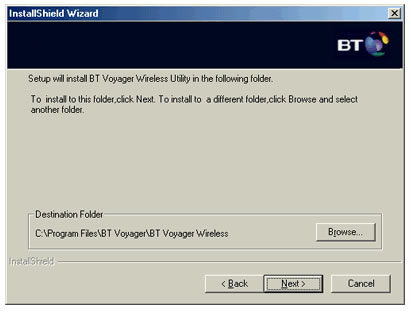
- You are prompted to select a directory into which the setup files will be copied. You can select the default directory by clicking Next>.
Hardware Installation
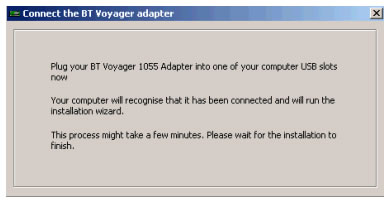
- When copying is finished, the following screen is shown (Figure3). Plug your BT Voyager 1055 into the USB port of your laptop or desktop PC. Windows will detect the new hardware.
- Click Next> on the setup screens to install the software. When prompted, close all applications and then restart your computer. When installation is completed, the BT Voyager Wireless Utility icon will appear in the bottom right of your screen.
- Click the utility icon to open the wireless connection screen.
- The wireless connection screen shows all the available wireless networks that are in range of your computer. If your network isn't on the list, you should consult your router documentation and the setup guide for more information.
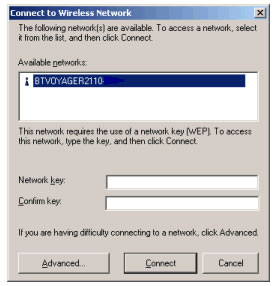
- Click on your network. If it is secured, enter and confirm the WEP or WPA-PSK key. The Network key may be printed on a label on the bottom of your wireless router/base unit. If the network is not secured, Tick Allow me to connect. Click Connect.
- After a few seconds, the icon in the system tray should indicate that a connection has been made with the wireless network. Congratulations, you can now access the Internet using your wireless connection.
Wireless Security
- We strongly advise that you secure your wireless network from unauthorised access. You should check your wireless router's documentation for specific information on making your network secure.
The following general tips may help keep your network safe from unauthorised access.
- Set network passwords and change them regularly.
- Use firewall and antivirus to protect your computers. Many wireless routers are now come with built-in firewalls.
- If you enable file sharing on your computer, you should not share your system files and should protect shared folders with a password.
- If carrying sensitive information (e.g. corporate environment), you should use VPN type (Virtual Private Network) technology to protect your data. Follow guidelines from your company's network administrator.
[Top]