Turn on suggestions
Auto-suggest helps you quickly narrow down your search results by suggesting possible matches as you type.
Showing results for
SeaMonkey Mail Set Up Guide
SeaMonkey Mail Set Up Guide
Topic Options
- Subscribe to RSS Feed
- Mark as New
- Mark as Read
- Bookmark
- Subscribe
- Printer Friendly Page
- Report to Moderator
- Plusnet Community
- :
- Library
- :
- SeaMonkey Mail Set Up Guide
SeaMonkey Mail Set Up Guide
14-06-2010
3:44 PM
This guide applies to SeaMonkey 2 for Windows. The screenshots shown here were taken using Windows 7.
Before you can use this guide, you'll need to install Mozilla SeaMonkey which you can download here.
You can use these instructions to set up email for your Plusnet email address or email for a domain hosted on your account.
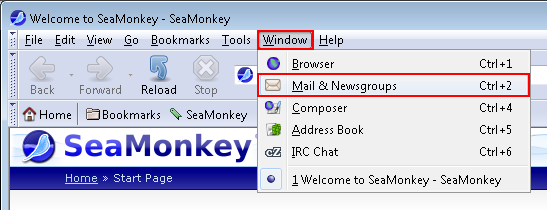
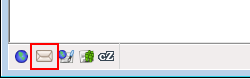
- Open SeaMonkey and click 'Window' > 'Mail & Newsgroups', alternatively you can click the email icon in the lower left area of the status bar.
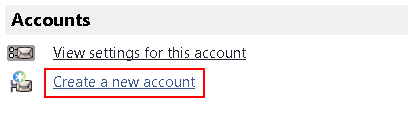
- If this is the first time you've run SeaMonkey Mail, the Mail Account Setup window should be the first thing you see, if it isn't then click the 'Create New Account' link.
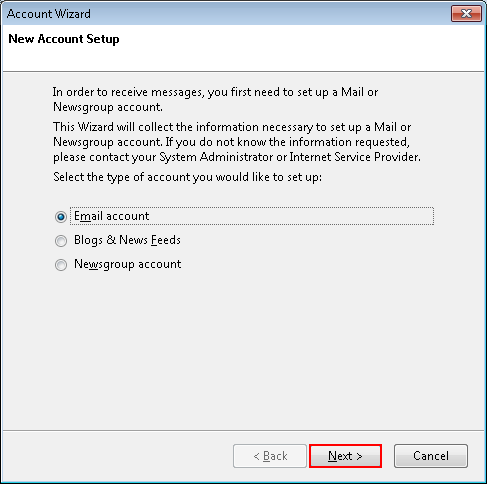
- Make sure the 'Email account' radio button is selected and click 'Next'.
- The Identity window will open.
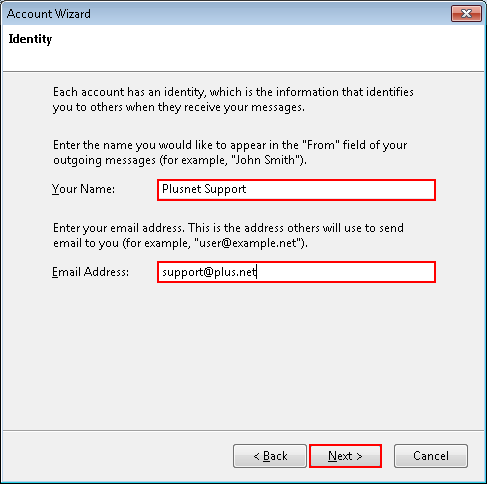
Enter the following details:
Your Name: Enter your full name (or the name you'd like people to see when you send them email from this account).
Email Address: Enter the email address you're setting up, this could be a PlusNet address (yourname@username.plus.com) or a hosted domain address (something@yourdomain.co.uk).
When you've done this, click 'Next'. - The Server Information window will open asking you for the mail server type, incoming and outgoing email server addresses.
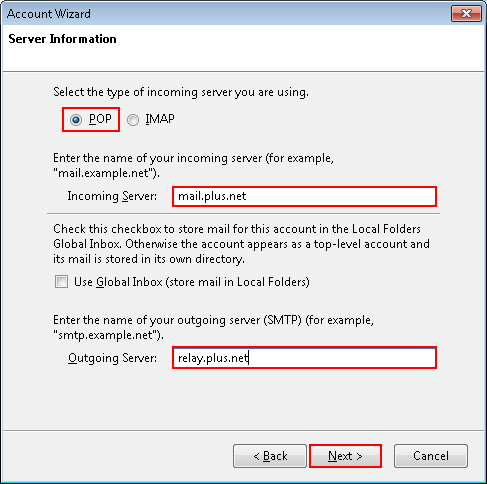
For the purpose of this guide we're going to create a 'POP3' email account. We do support IMAP too but that's outside the scope of this tutorial. For more information about IMAP see the support page here.
Enter the following details:
Incoming Server: mail.plus.net
Outgoing Server: relay.plus.net
When you've done this, click 'Next'. - The User Names window will open.

Enter the following details:
User Name: This depends on the address you're setting up. To set up your first Plusnet email address (What's my first Plusnet email address?), enter the username you log into this website with.
If you're setting up an Additional mailbox (What's an Additional Mailbox?), enter the mailbox username (in the format username+mailboxname) Check the email we sent after the mailbox was created if you're not sure what this is.
Outgoing User Name: You can leave this blank.
When you've done this, click 'Next'. - The Account Name window will open.
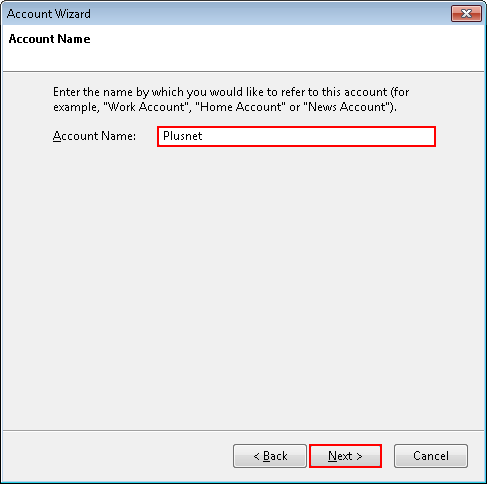
Choose a descriptive name. It doesn't really matter what you enter here but it's a good idea to make it relevant in case you have to alter any of your account settings at a later date.When you've done this Click 'Next'. - You're almost there!
 Click 'Finish' to complete the account creation process.
 - You'll now be asked to confirm your account password.
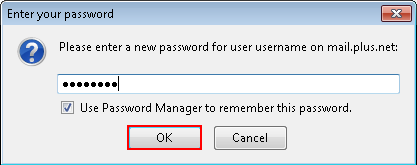
Enter your password, select the 'Use Password Manager to remember this password' checkbox and click 'OK'. - Now we need to make sure that your outgoing server properties are correctly configured. Click 'Edit' > 'Mail & Newsgroups Account Settings'.
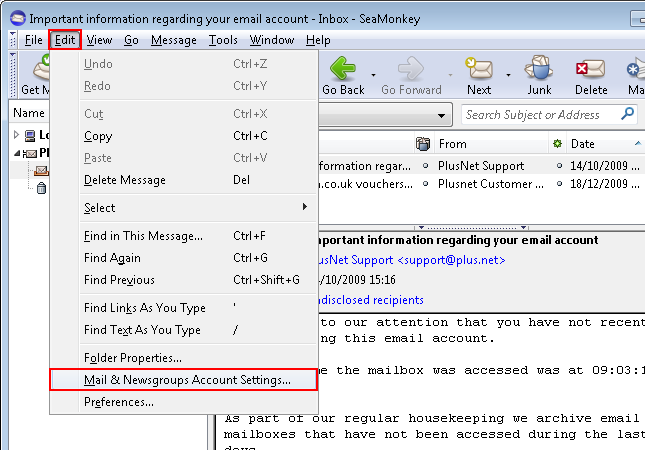
- The Mail & Newsgroups Account Settings window will open.
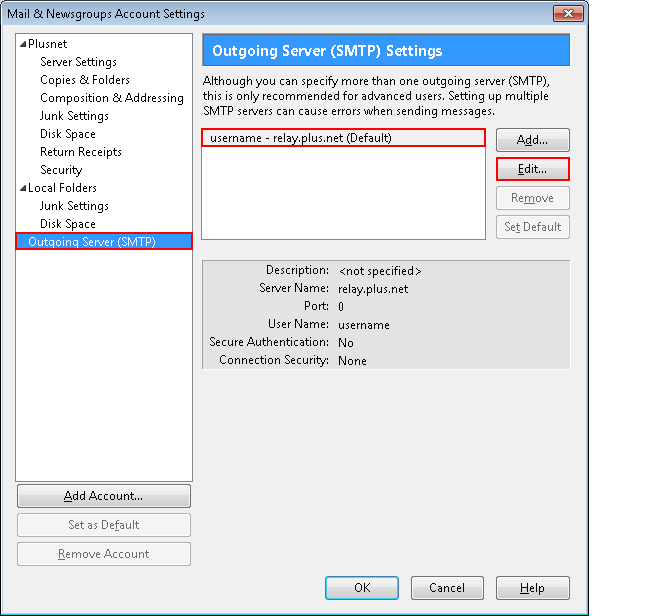
Highlight 'Outgoing Server (SMTP)' on the left-hand side and the 'relay.plus.net' entry on the right-hand side. Click 'Edit'.NB: If there isn't a 'relay.plus.net' entry then click 'Add'. - The SMTP Server window will open.
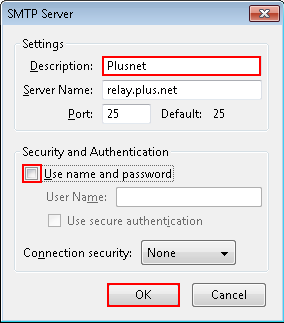
If you'll be using SeaMonkey Mail from your Plusnet broadband connection then you should remove the tick from the 'Use name and password' check box. If you will be using SeaMonkey when connected to other Internet providers then you should tick this check box and enter your main account username in the 'User Name' field. This is the username you use to log into our website.NB: If you have a non-subsctription 'free' account then you will not be able to use your Plusnet username when sending email from another Internet provider. Instead you should try using the outgoing server of the Internet provider you're connecting to when sending messages.
When you've done this Click 'OK' and then click 'OK' again.
Congratulations! Your account is now set up and ready to go.